This post may contain affiliate links. For more information, read my disclosure policy.

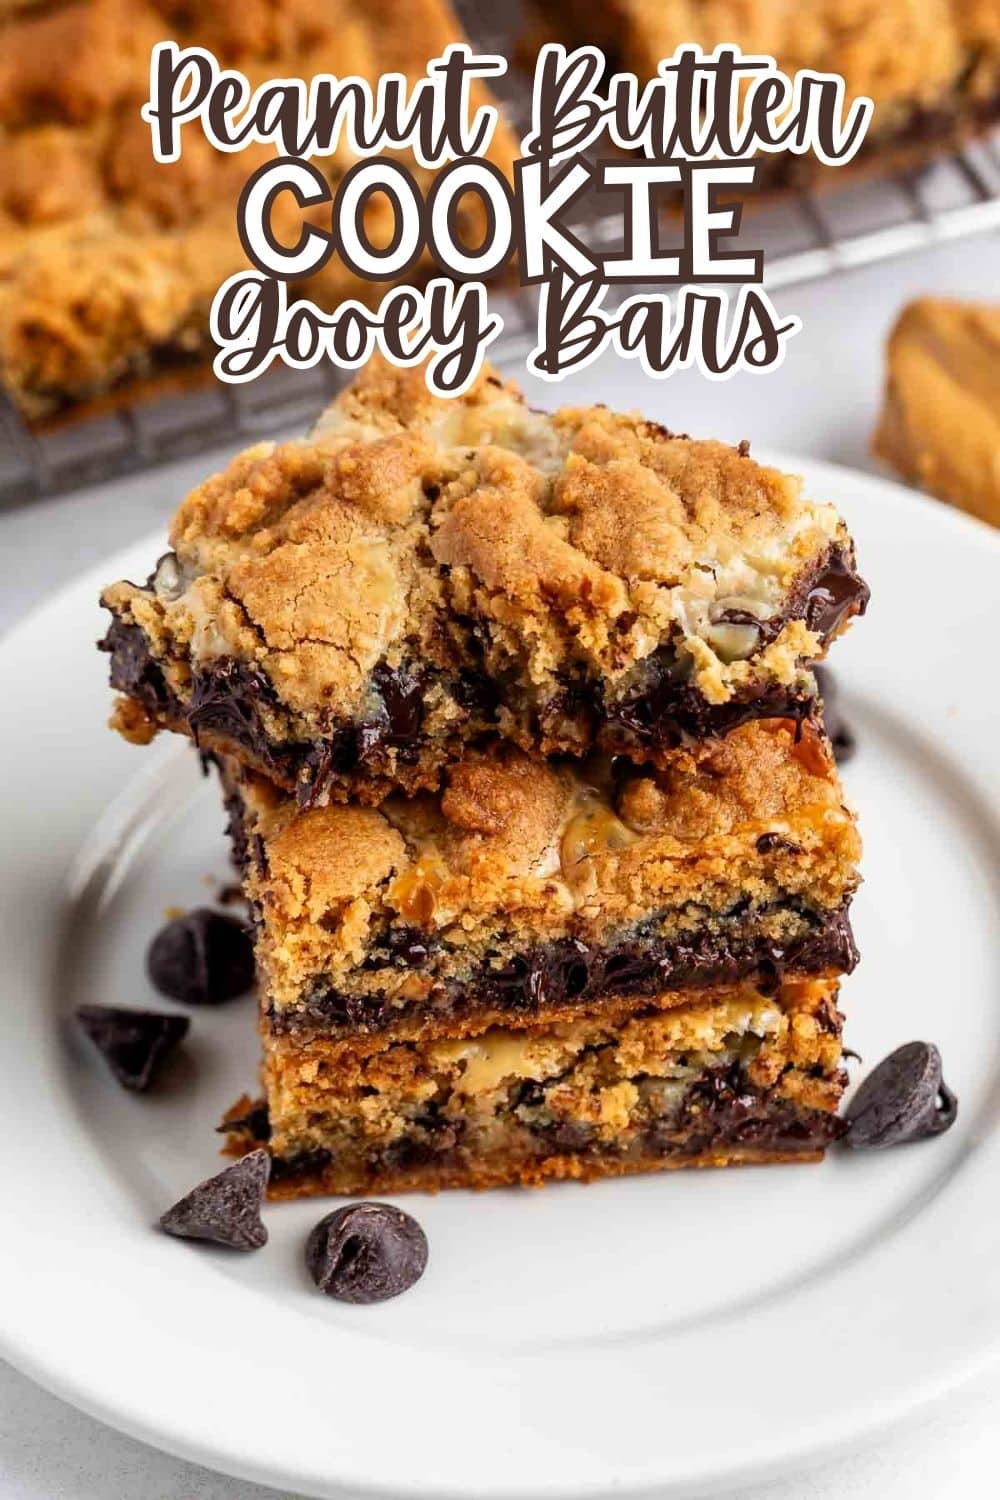
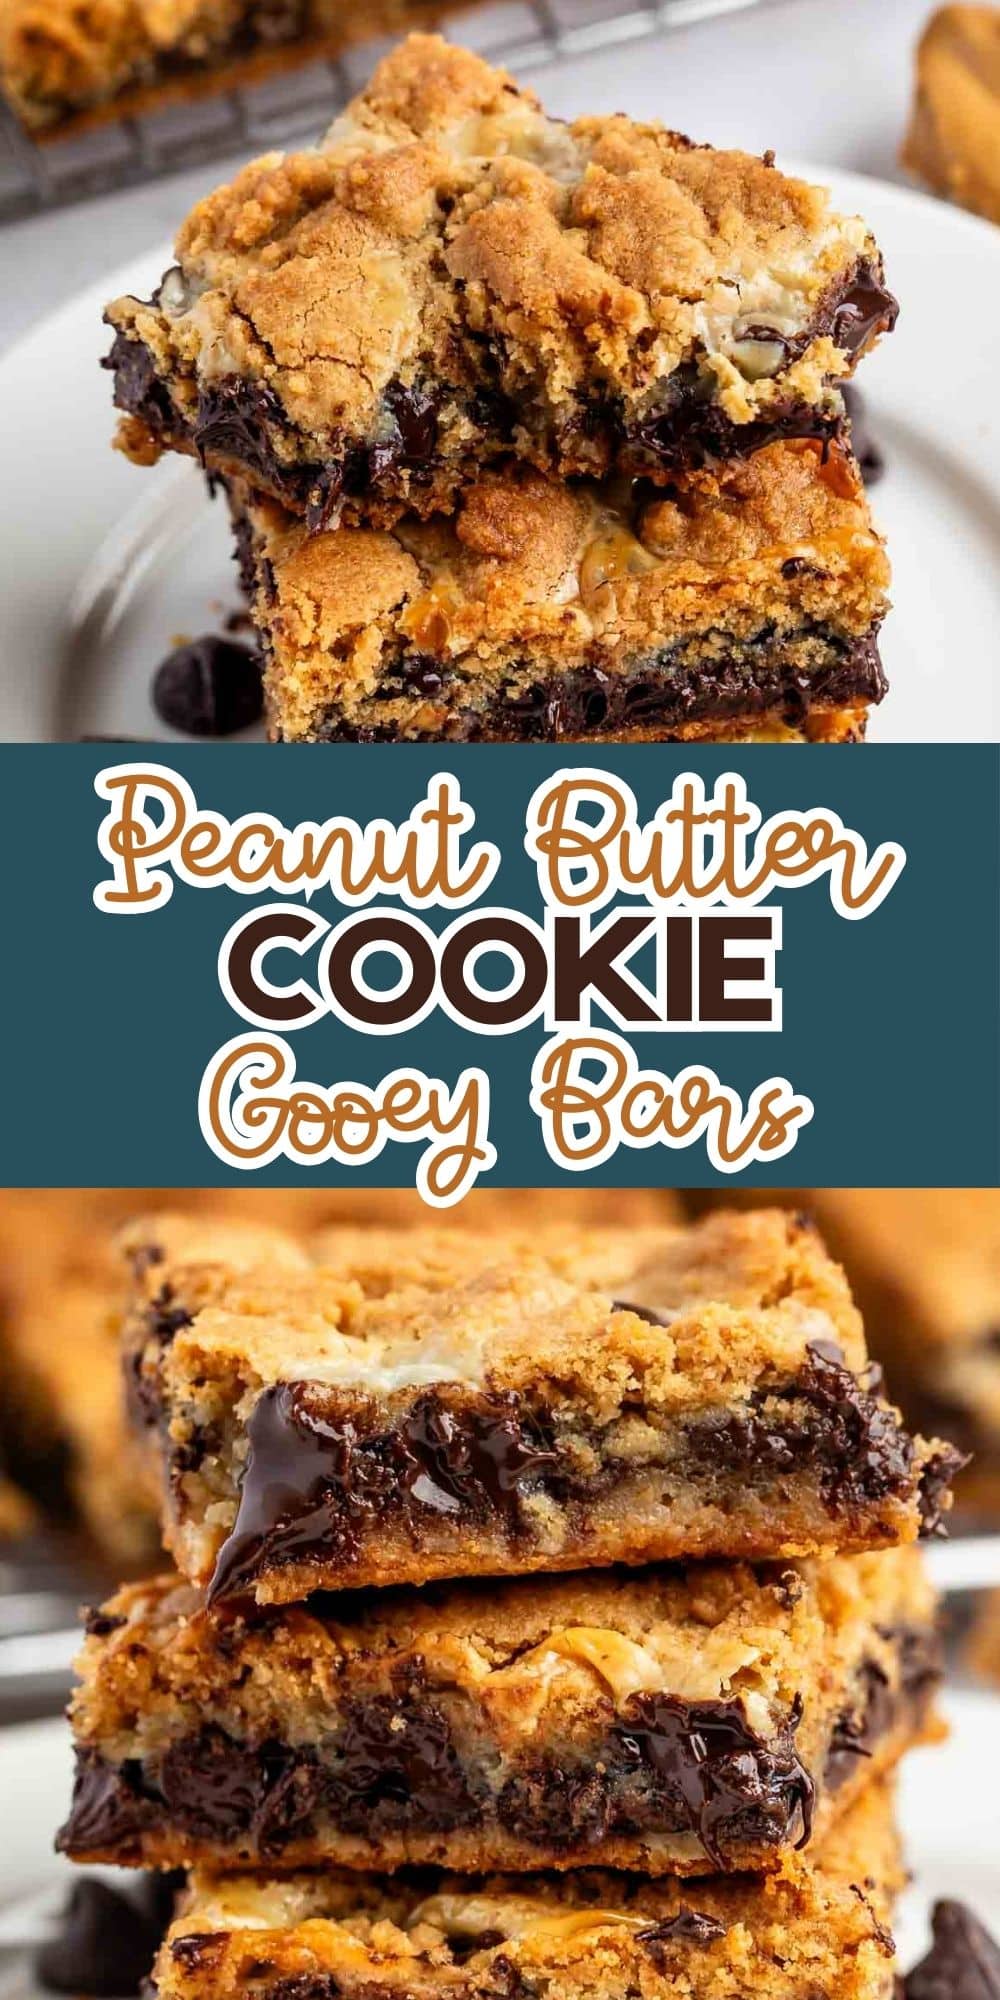

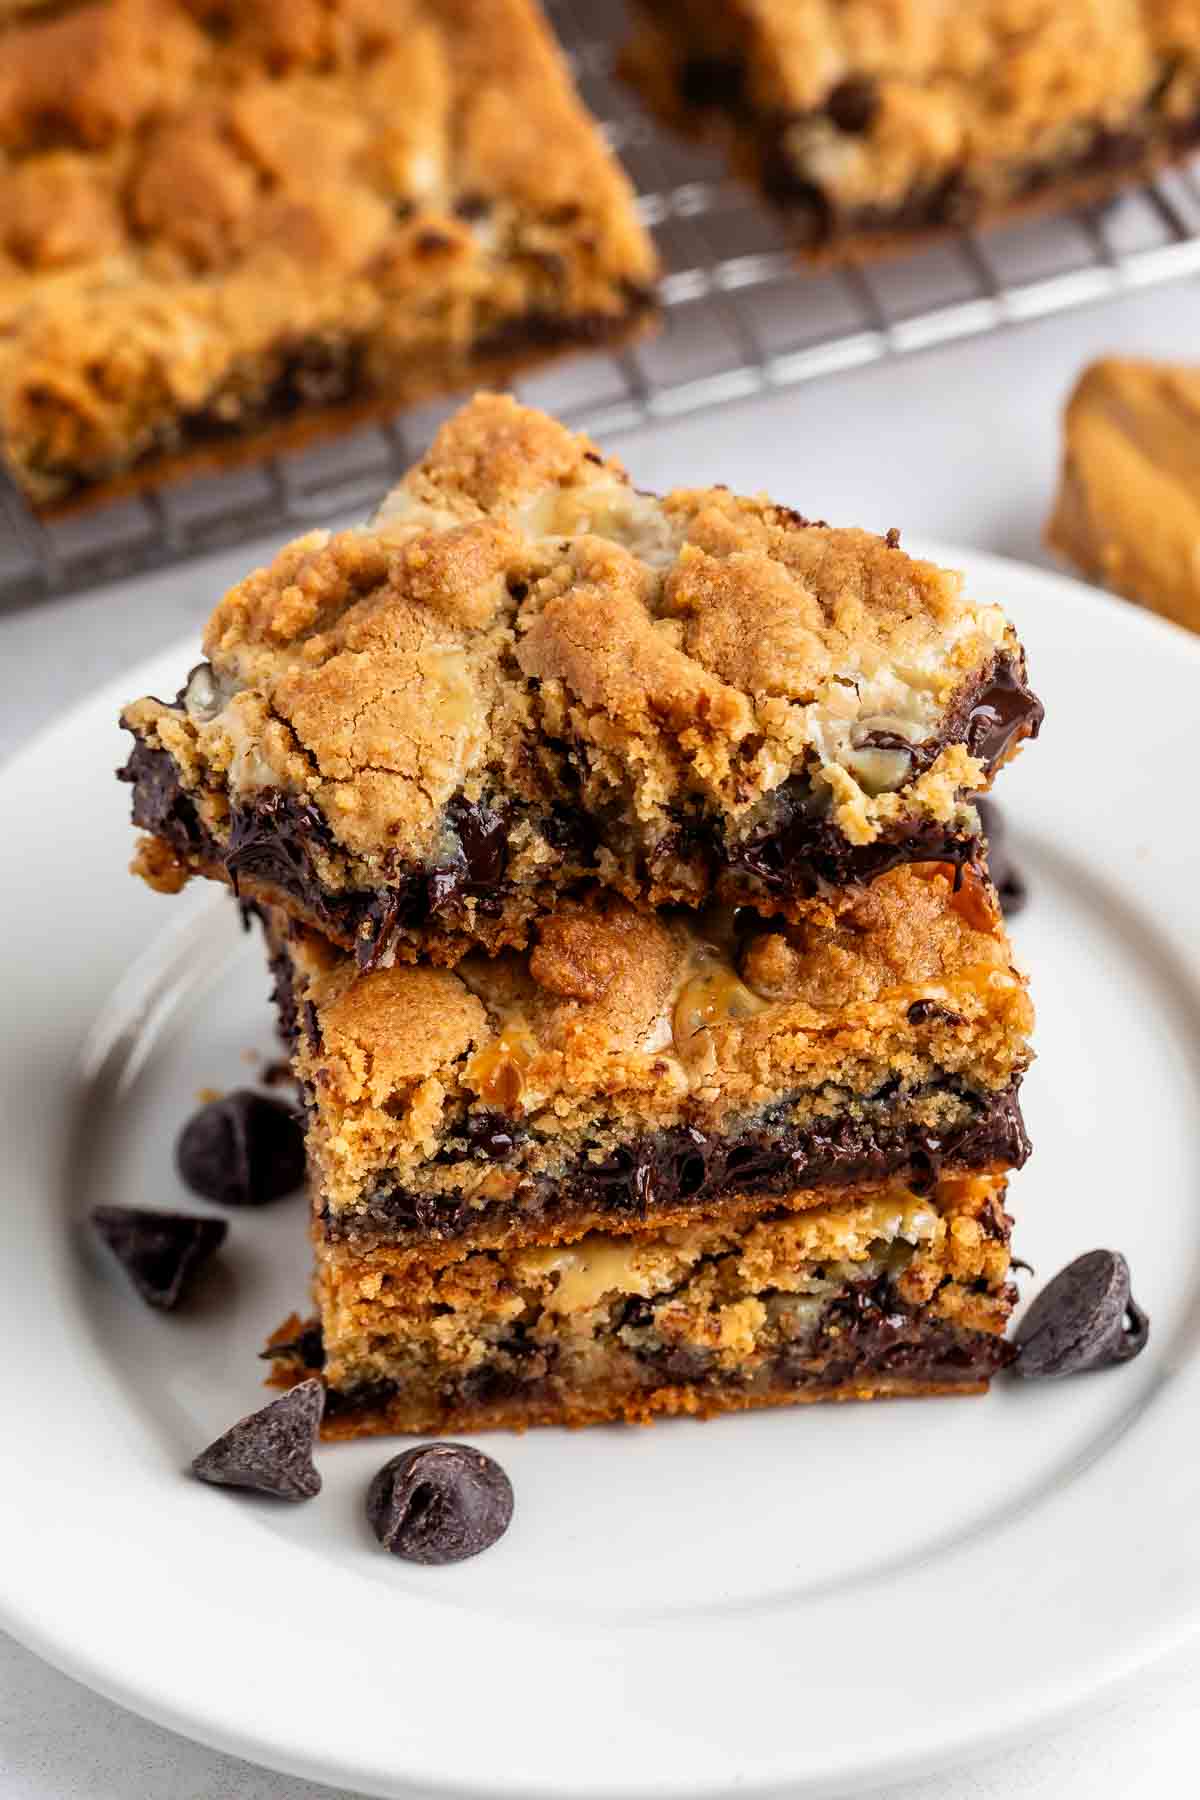
These Peanut Butter Cookie Gooey Bars combine my favorite peanut butter cookie recipe and gooey chocolate for the most decadent gooey bar EVER!
These bars start with my favorite peanut butter cookie recipe. I’ve used that same recipe for so many things, including s’mores, caramel cookie bars, and stuffed cookies. Then I turned them into peanut butter cookie bars with the gooiest chocolatey filling!
How to make Peanut Butter Cookie Bars
- Mix up your cookie dough like you would normally – you can use a stand mixer with the paddle attachment or a hand mixer.
- This recipe was written for regular shelf-stable (not natural) peanut butter. I like Skippy or Jif.
- Instead of making cookies out of the dough, I spread about 2/3 of it into the bottom of a 9×13″ pan.
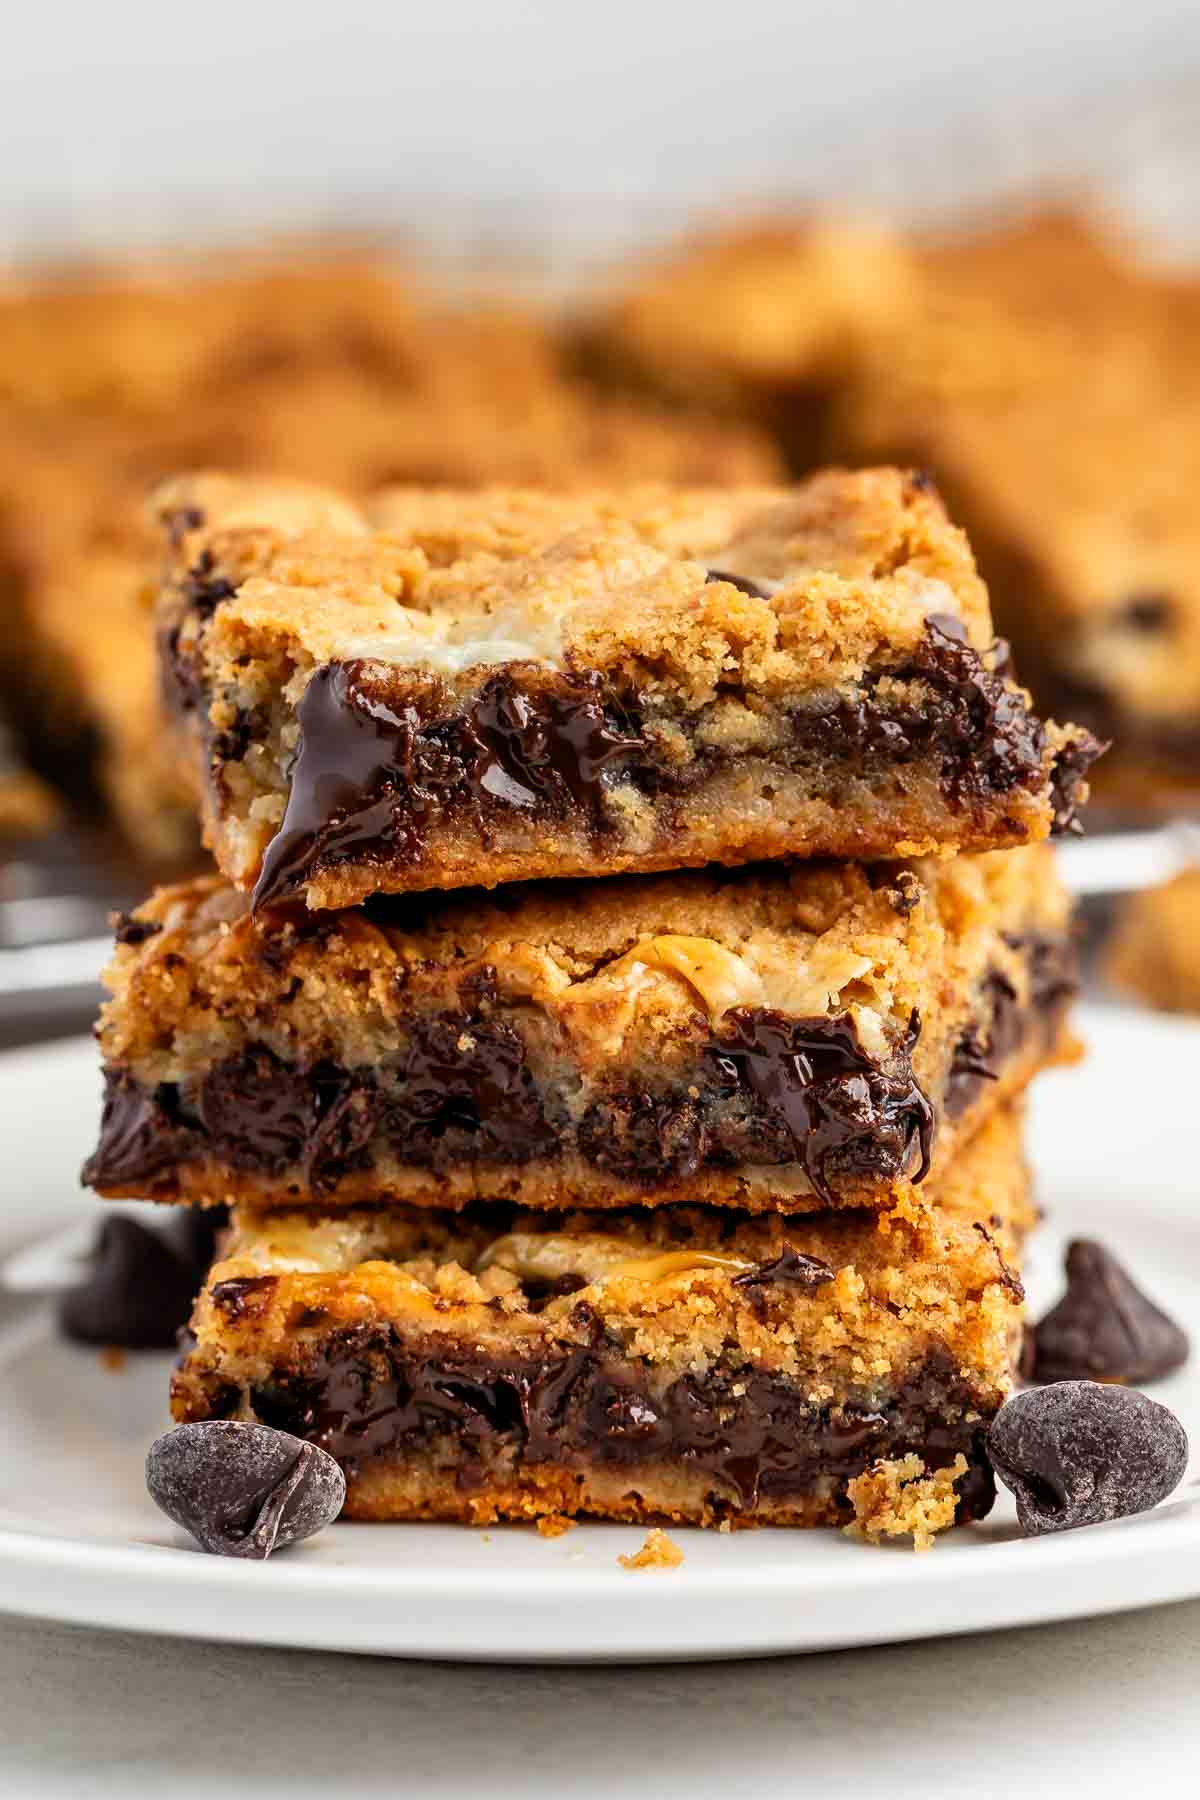
- Then pour chocolate chips and a can of sweetened condensed milk over the top and spread the remaining dough over that. Once they bake they’re ooey gooey chocolatey peanut butter heaven.
Click to see the recipe card below for full ingredients & instructions and below the recipe card for process shots.
SAVE THIS RECIPE
Storing Peanut Butter Cookie Bars
- Store in an airtight container at room temperature for up to 5 days.
- You can freeze these for up to 2-3 months – just layer between wax paper or parchment paper so that they don’t stick together.
Dorothy’s Expert Tips
- I like to line my pan with foil or parchment paper for easy removal.
- Use a metal pan for best results and bake in the center rack of the oven.
- Let these cool completely before trying to cut them – I even prefer chilling them first.
- You know these are done baking when they’re golden brown on top – if your oven bakes them too quickly on top reduce the oven temperature to 325°F and/or tent the pan with foil.
Peanut Butter Cookie Gooey Bars Recipe
My favorite peanut butter cookies made into a bar and filled with sweetened condensed milk and chocolate!
Recipe Video
Prep Time 20 minutes
Cook Time 30 minutes
Total Time 50 minutes
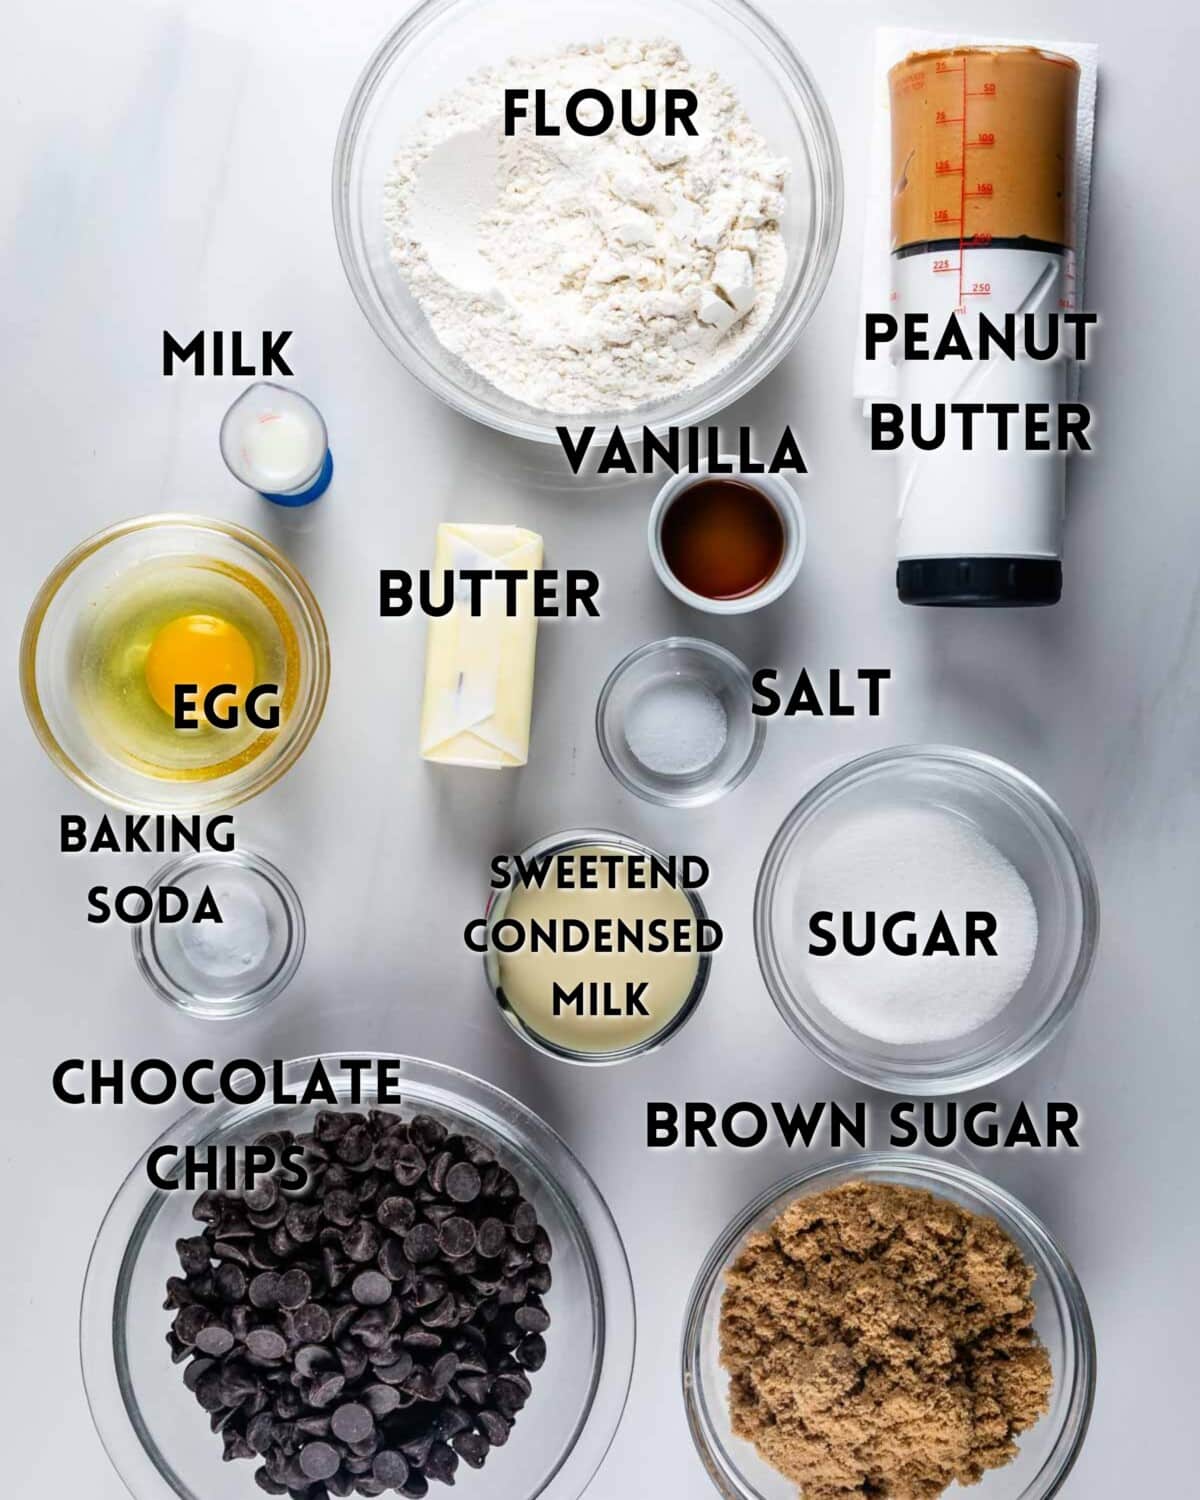
Ingredients
- ½ cup (113g) unsalted butter softened
- ¾ cup (200g) peanut butter (no-stir, not natural, creamy or chunky)
- ¾ cup (150g) packed brown sugar
- ¼ cup (50g) granulated sugar
- 1 large egg
- 1 teaspoon vanilla
- 1 tablespoon (15ml) milk
- ¼ teaspoon salt
- ½ teaspoon baking soda
- 1 ½ cups (186g) all-purpose flour
- 1 (14 ounce) can sweetened condensed milk
- 2 cups (340g) chocolate chips (milk or semi-sweet or dark)
Instructions
- Preheat oven to 350°F. Line a 9×13-inch metal pan with foil or parchment paper and spray with cooking spray.
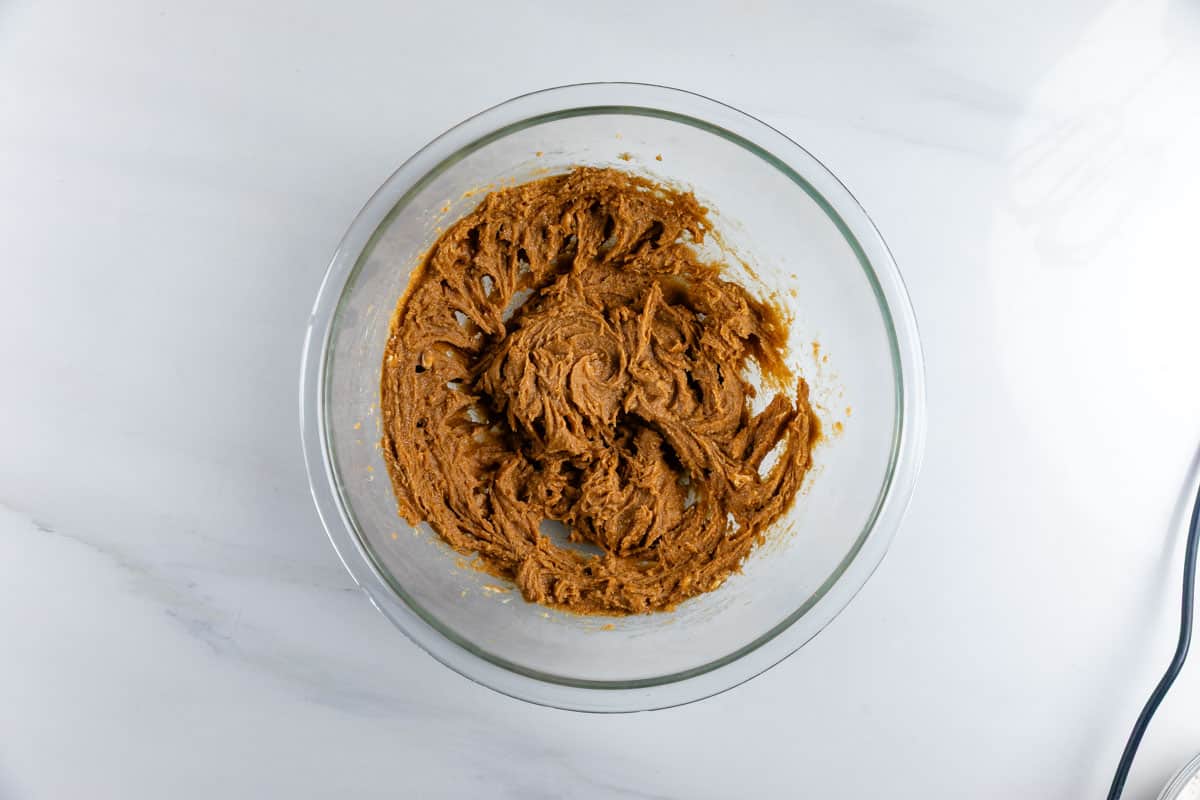
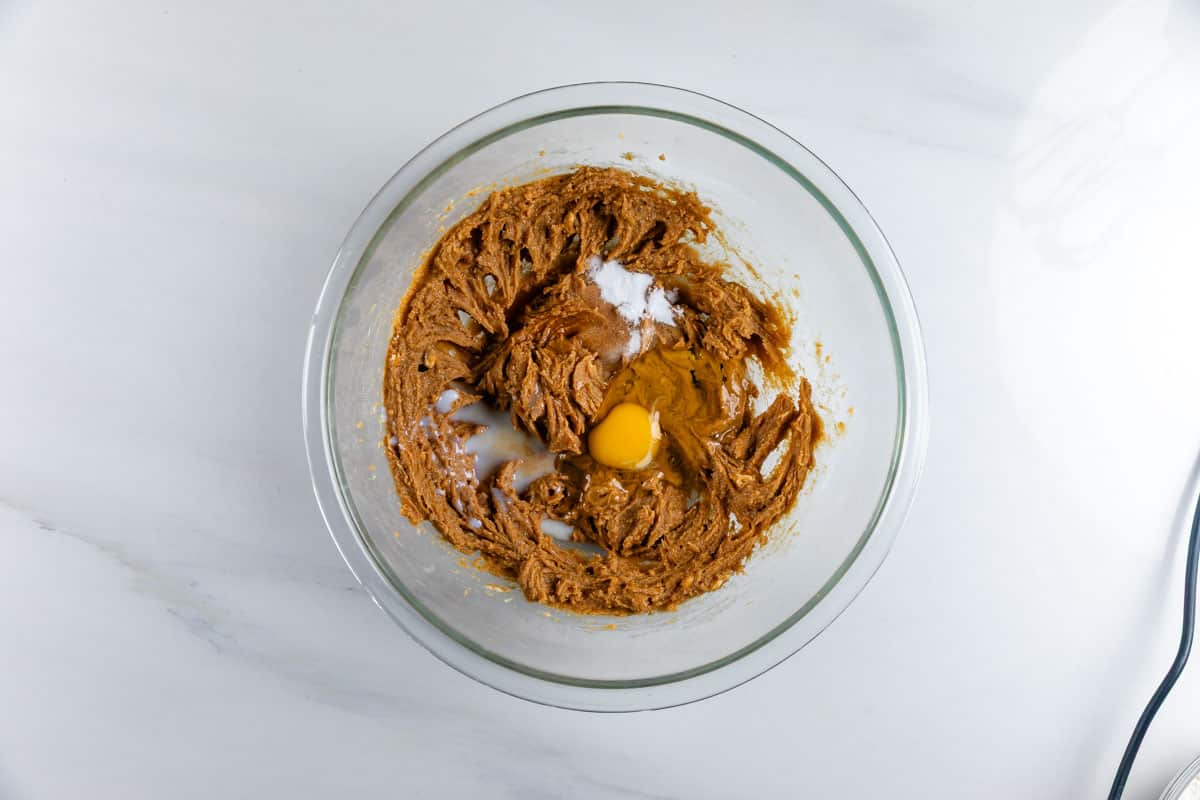
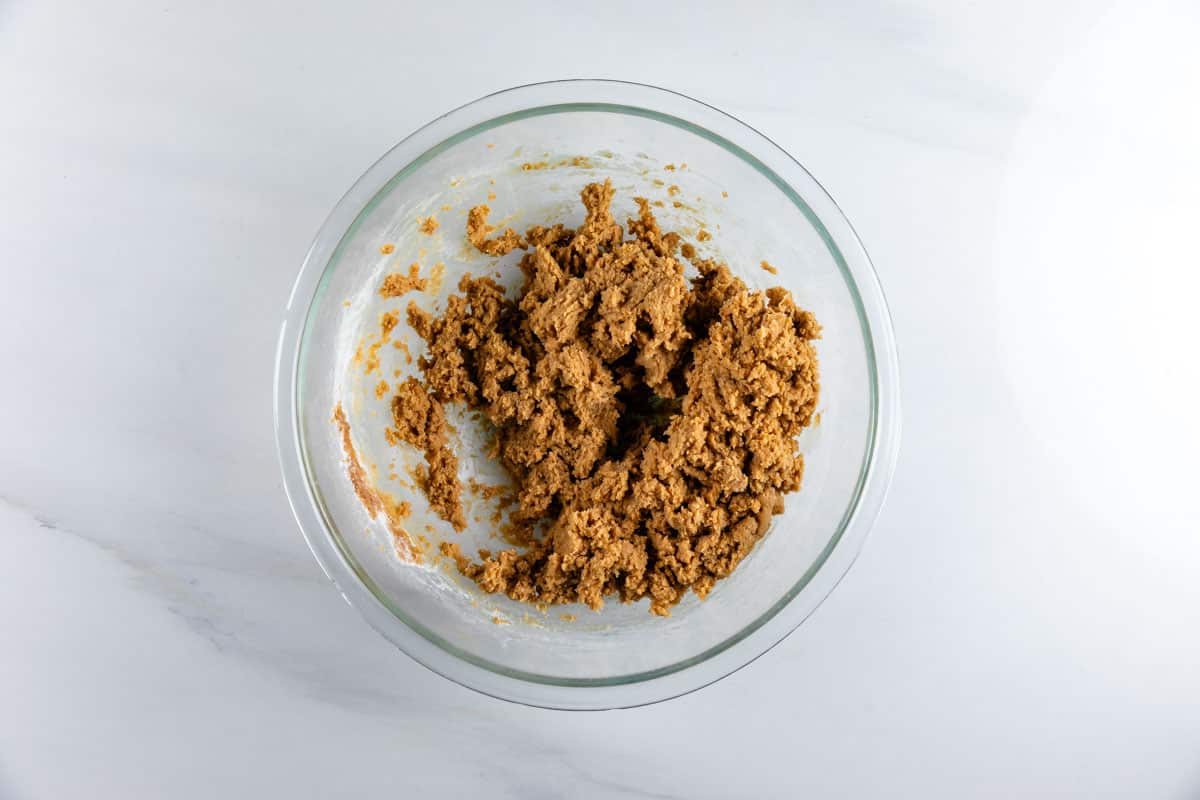
- Cream butter, peanut butter, and both sugars in the bowl of an electric mixer fitted with the paddle attachment. Add egg, vanilla, milk, salt, and baking soda. Mix until combined. Slowly add flour and mix until dough comes together.
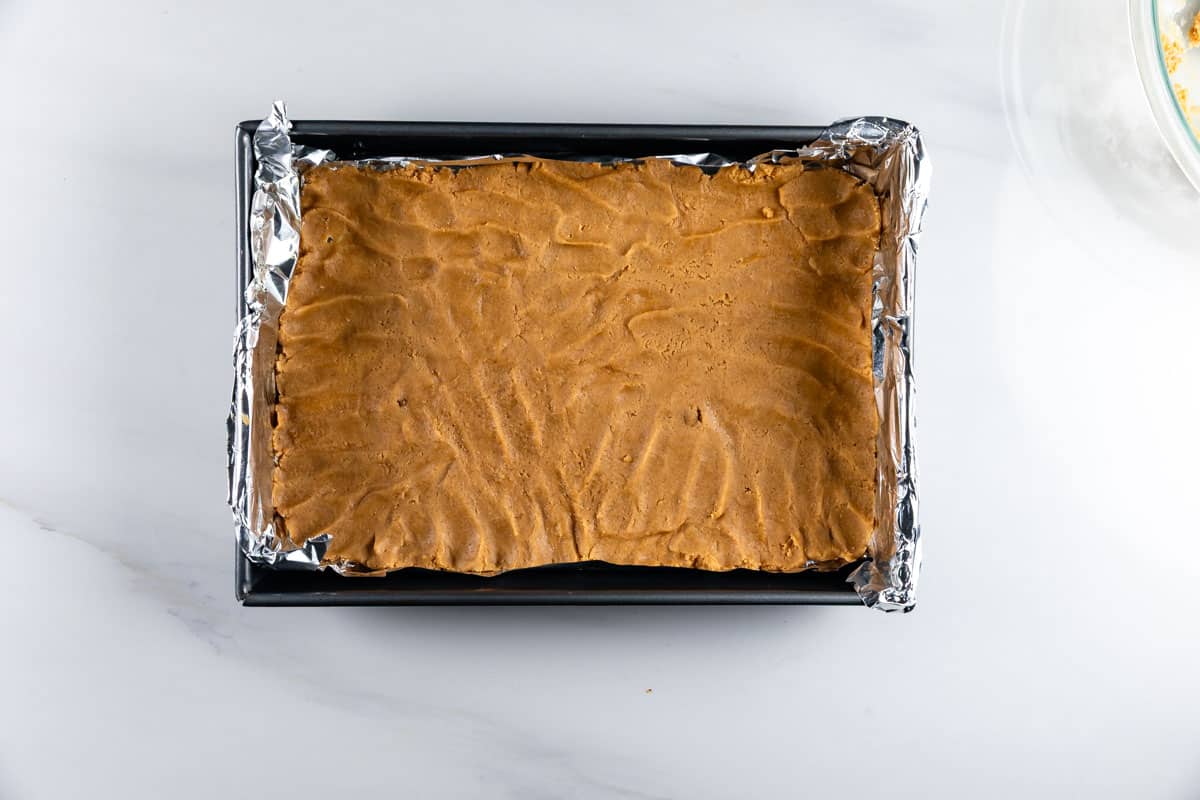
- Press ½-⅔ of the dough in the bottom of the pan. The dough is very sticky so spray your hands with cooking spray first. It’ll look like you don’t have enough dough but spread it into a thin layer.
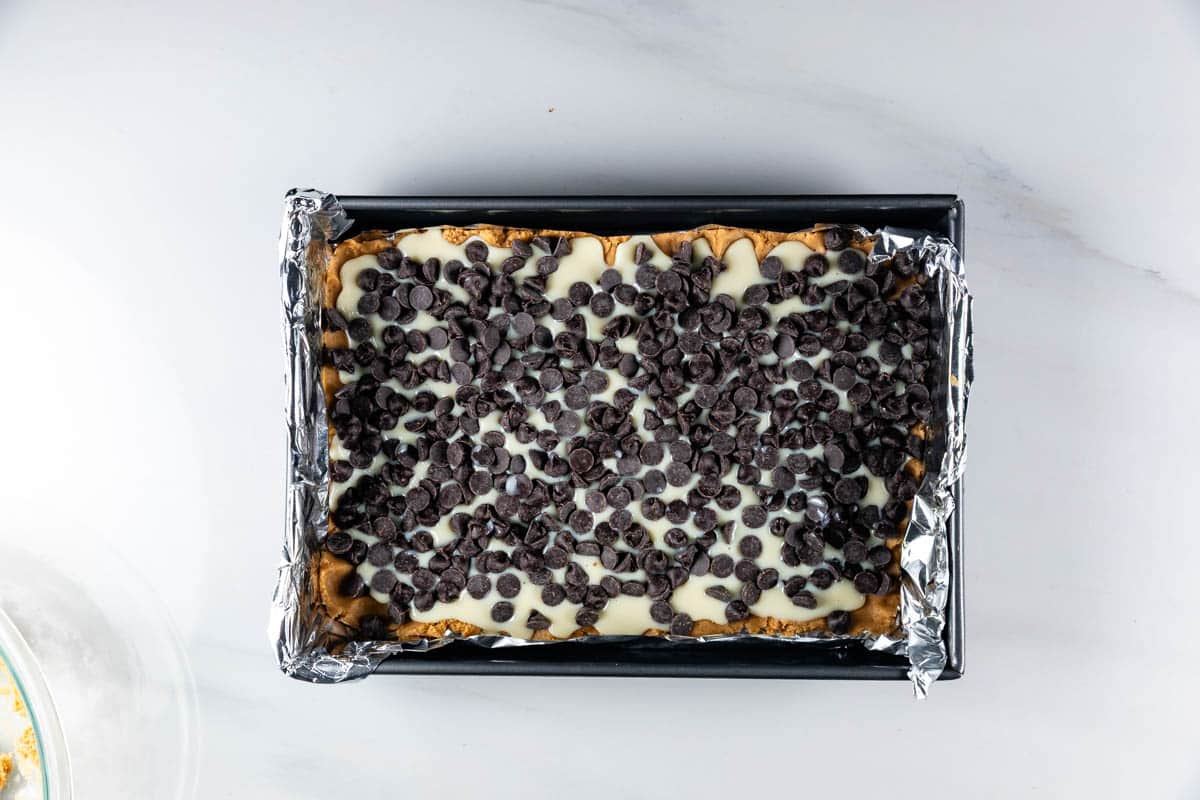
- Sprinkle the chocolate chips over the top of the bottom layer. Pour the sweetened condensed milk (SCM) over the chocolate chips. Try to give a ½ inch border around the edges where the SCM does not touch the edge of the pan. This prevents bubbling edges.
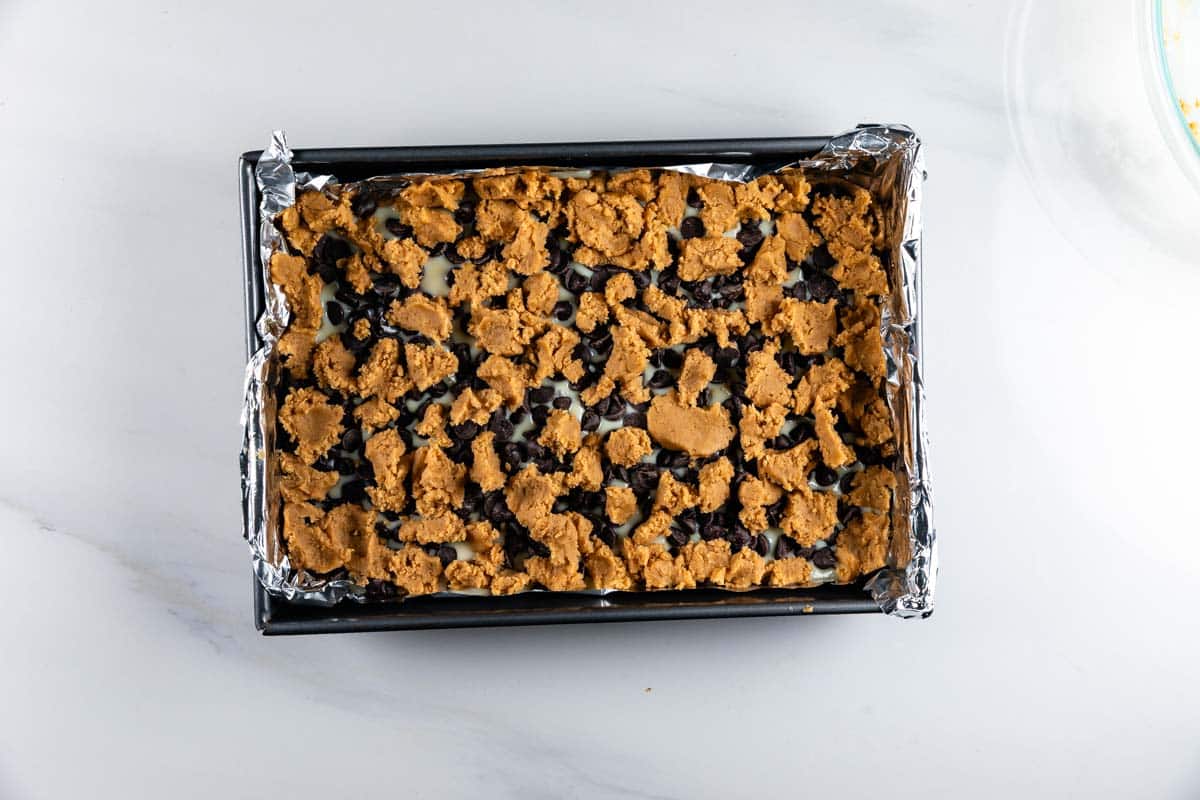
- Spoon tablespoon drops of your remaining dough over the top of the SCM layer. Spray your hands again with cooking spray and gently flatten the dough with your fingers. I sort of spread the dough a bit while I was flattening. It won’t completely cover; you’ll still see the filling.
- Bake for about 30-36 minutes, until the bars begin to brown on top. Cool completely before slicing. These are gooey when you cut them unless you chill them first. (They taste better gooey!)
- Store in an airtight container for up to 5 days. They can be frozen in sealable containers or ziploc bags between layers of paper towels for up to 2 months.
Recipe Notes
If your oven browns the top too quickly you can lower the oven temp to 325°F and/or tent the pan with foil. It’s best to bake on a middle rack in a metal pan.
Recipe Nutrition
Serving: 1serving | Calories: 223kcal | Carbohydrates: 27g | Protein: 4g | Fat: 12g | Saturated Fat: 6g | Cholesterol: 19mg | Sodium: 133mg | Potassium: 72mg | Fiber: 1g | Sugar: 19g | Vitamin A: 162IU | Vitamin C: 1mg | Calcium: 31mg | Iron: 1mg
Nutritional information not guaranteed to be accurate
Step by Step Photos
- Cream butter and peanut butter with brown sugar and granulated sugar until smooth and fluffy.
- Add egg, vanilla extract, baking soda, and salt. Mix until smooth. Mix in the flour until cookie dough forms.
- Press about 1/2 to 2/3 of the dough in the bottom of a 9×13-inch pan that’s been lined with foil and sprayed with nonstick cooking spray.
- Add chocolate chips and sweetened condensed milk.
- Top with remaining dough.
- Bake until golden – chill before slicing.
If I’m making the peanut butter gooey bars can I use regular butter
Yes you can! I usually just reduce any added salt by 1/4tsp per 1/2 cup salted butter used.
I am definitely going to make these tomorrow but don’t have a metal pan. Will a glass pan work?
Hi Nancy, metal pans are ideal for baking, just keep in mind with the glass dish that the cook time may vary. Enjoy!
Hello! Do you think you can substitute 1.5 cups of flour with 1 cup quick oats and 0.5 cup flour? Thanks!
That should work, since it’s a cookie bar. Let me know if it does!
Substituting half of the flour with oats worked great, thank you !
Featured In
Rate This Recipe
Recipe Ratings without Comment